Farmer Drew’s Olive, Garlic, and Herb Bread for Artisan Bakers
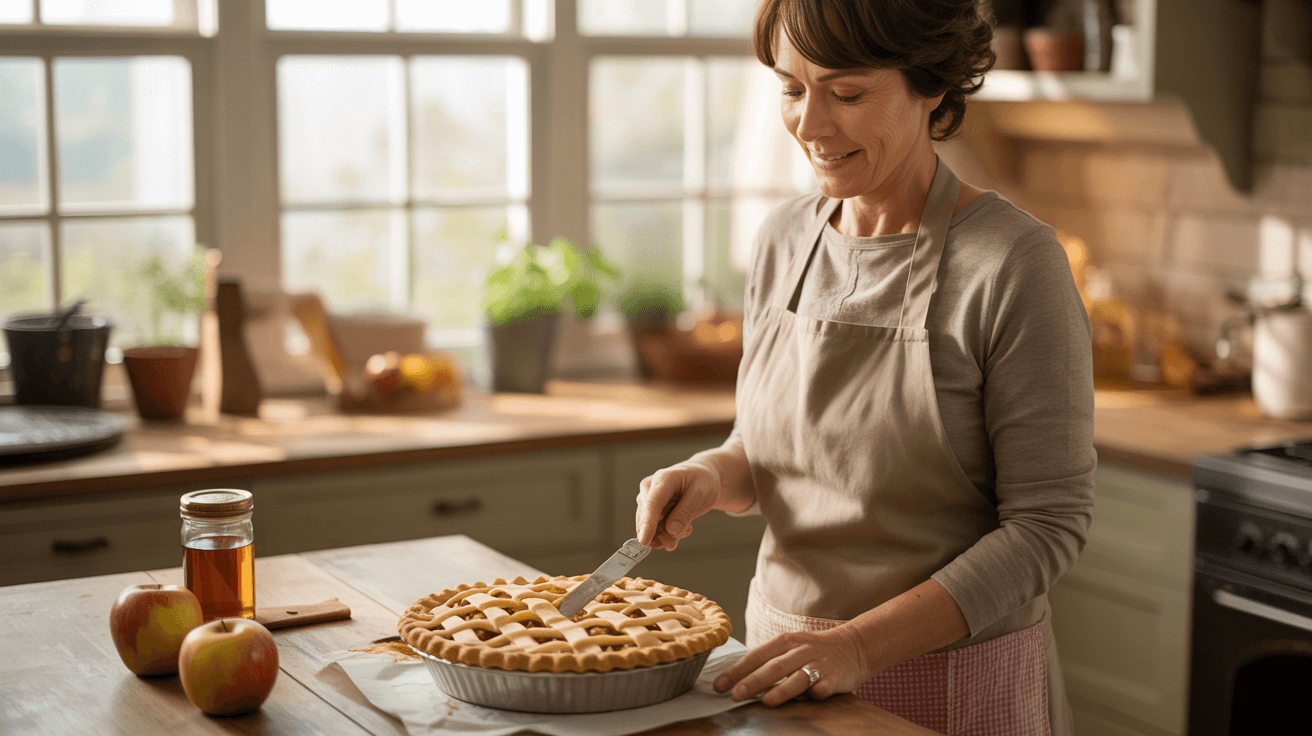
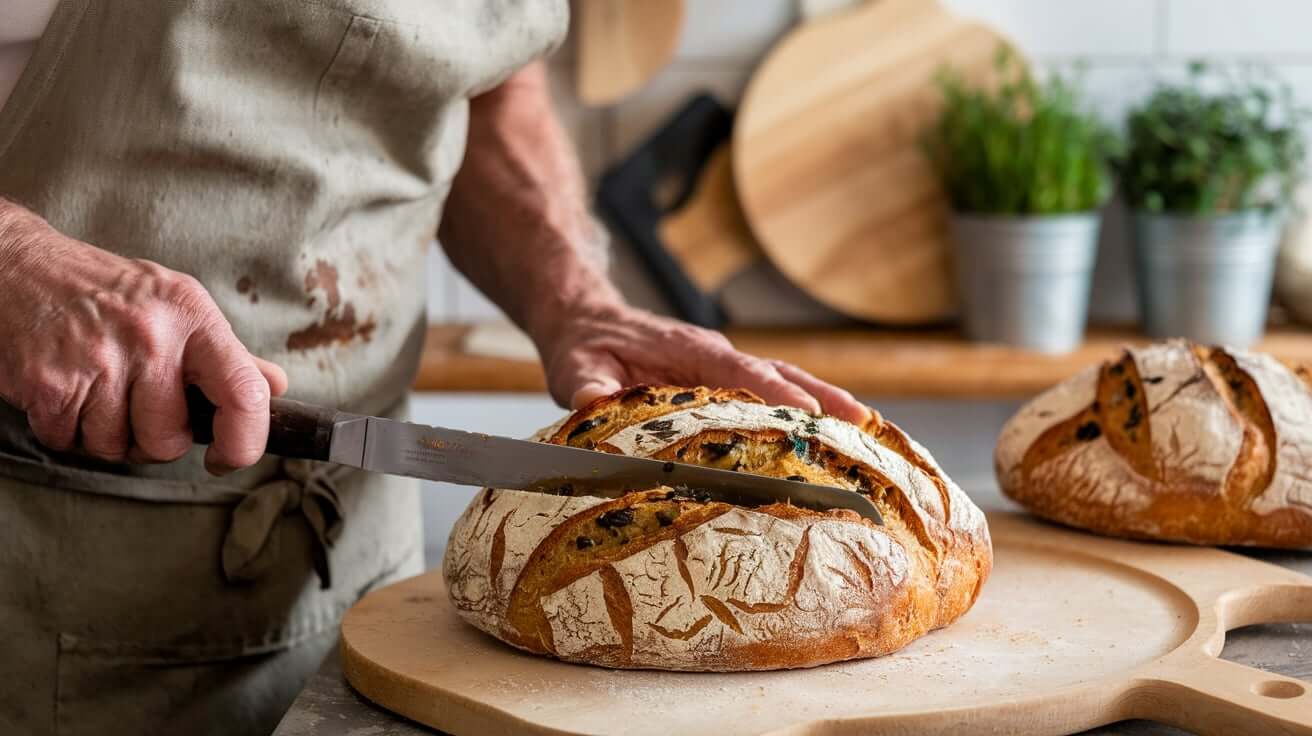
Picture this: the golden crackle of a crust as you slice into a warm loaf, releasing the aroma of roasted garlic, fresh herbs, and briny olives. That’s what you’re creating today—a masterpiece of flavor and tradition.
Hey there, Farmer Drew here. This recipe holds a special place in my heart because it’s not just bread; it’s a story. A story of simple ingredients transformed into something extraordinary through patience and care. That’s what artisan baking is all about.
Today, I’ll walk you through the steps to craft sourdough olive, garlic, and herb bread. With a crackling crust, a chewy crumb, and bold, savory flavors, this bread will be the star of your next gathering.
Don’t worry—I’ll share tips to help you nail it, even if you’ve never tried something this ambitious before.
We’ll start with high-quality ingredients. For the flour, I recommend our Yecora Rojo Wheat Flour. Its rich, nutty flavor pairs beautifully with the savory notes in this recipe.
Before we dive in, let’s hear from the legendary baker Chad Robertson, who once said: “Bread is the most fundamentally satisfying of all foods; and good bread, with butter, the greatest of feasts.”
Let’s make some of that “good bread” together, shall we?
Are you ready to elevate your sourdough game? Let’s get started!
Ingredients for Sourdough Olive, Garlic, and Herb Bread
- 3 1/2 cups (450g) Yecora Rojo Wheat Flour
- 1 1/4 cups (300g) water (lukewarm, about 90-95°F)
- 1/4 cup (50g) sourdough starter (active and bubbly)
- 1 1/2 tsp (9g) sea salt
- 1 cup (150g) pitted Kalamata olives (roughly chopped)
- 4 cloves garlic (roasted and minced)
- 1/4 cup fresh herbs (parsley, rosemary, and thyme work well, finely chopped)
Step-by-Step Instructions
Step 1: Mix the Dough
In a large bowl, combine the Yecora Rojo Wheat Flour and water. Mix until no dry bits remain. Cover with a damp towel and let it rest for 30 minutes (this is called autolyse—it helps hydrate the flour and develop gluten).
Step 2: Add the Starter and Salt
Add the sourdough starter and sea salt to the dough. Mix thoroughly by hand or with a stand mixer until everything is well combined.
Step 3: Incorporate the Olives, Garlic, and Herbs
Gently fold in the chopped olives, roasted garlic, and herbs. Be careful not to overmix, as you want to maintain the dough’s structure.
Step 4: Bulk Fermentation
Cover the bowl and let the dough rise at room temperature for 4-6 hours. During this time, perform a series of stretch-and-folds every 30 minutes for the first 2 hours. This strengthens the dough and distributes the ingredients evenly.
Step 5: Shape the Dough
Turn the dough onto a lightly floured surface. Shape it into a round loaf (boule) or an oval (batard), depending on your preference. Place it seam-side up in a floured proofing basket or a bowl lined with a floured towel.
Step 6: Final Proofing
Cover and let the dough proof in the refrigerator overnight (8-12 hours). This slow fermentation develops complex flavors.
Step 7: Preheat and Bake
Preheat your oven to 475°F (245°C) with a Dutch oven inside. Once hot, carefully transfer the dough into the Dutch oven, seam-side down. Score the top with a sharp blade to allow steam to escape. Bake covered for 20 minutes, then uncovered for another 25-30 minutes, or until the crust is deep golden brown.
Step 8: Cool and Enjoy
Let the bread cool completely on a wire rack before slicing. This allows the crumb to set and the flavors to fully develop.
FAQs
To keep the crust crisp, store the bread in a paper bag at room temperature for up to 3 days. For longer storage, wrap it tightly and freeze for up to 2 months.
Absolutely! Feel free to experiment with green olives, sun-dried tomatoes, or herbs like oregano and basil. Each variation adds its own unique flavor.
Sourdough can be naturally sticky, especially with high hydration recipes like this one. Use lightly floured hands and a bench scraper to help manage the dough.
Yes! You can bake it on a preheated baking stone or sheet with a pan of water in the oven to create steam for a crispy crust.
Tap the bottom of the loaf; it should sound hollow. Alternatively, use a thermometer—the internal temperature should reach 200-205°F.
Sourdough Olive Garlic & Herb Bread
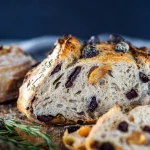
Experience the wholesome goodness of our Sourdough Olive Garlic & Herb Bread, made with 100% organic and whole grain ingredients from Early Bird Farm & Mill. This easy-to-follow recipe yields a perfectly crusty loaf enriched with kalamata olives and a medley of fresh herbs, making it an ideal choice for anyone seeking a healthier, homemade bread option. Bake a loaf today and enjoy the pure flavors of organic farming and heritage grains!
- Glass Container
- Large Mixing Bowl
- Damp Cloth
- Proofing Basket
- Dutch Oven
- Parchment Paper
- Sharp Knife or Lame
- Wire Rack
For the Sourdough Starter
- 1/4 cup Early Bird Farm & Mill Yecora Rojo Hard Red Wheat Flour
- 1/3 cup water (adjust as needed for consistency)
For The Bread
- 1 cup active sourdough starter
- 2 cups Early Bird Farm & Mill Yecora Rojo Hard Red Wheat Flour or ANY Early Bird wheat flours
- 1 cup lukewarm water
- 1 1/2 tsp salt
- 1/2 cup pitted and chopped kalamata olives
- 1 tbsp fresh rosemary, finely chopped
- 1 tbsp fresh thyme, finely chopped
- 1 tsp dried oregano flakes
- 1 clove fresh garlic, chopped
Prepare The Sourdough Starter
Mix the whole wheat flour and water in a glass container until smooth.
Cover with a cloth and let it sit at room temperature for 12-16 hours until bubbly.
Make the Bread Dough
In a large mixing bowl, combine the active sourdough starter with bread flour and lukewarm water. Mix until a rough dough forms.
Cover the bowl with a damp cloth and let rest for 30 minutes for autolysis (allowing the flour to absorb the water).
Add the Olives and Herbs
Add salt, chopped olives, rosemary, thyme, garlic, and oregano to the dough. Fold into the dough until evenly distributed.
Bulk Fermentation
Cover the bowl and let the dough rise at room temperature for about 8 hours, until doubled in size. Perform stretch and folds every 2 hours during this period to strengthen the gluten.
Shape the Dough
Turn the dough out onto a lightly floured surface. Shape into a round loaf.
Place the shaped dough seam-side up into a well-floured proofing basket. Cover and let it rise for another 3-4 hours until puffy.
Bake the Bread
Preheat your oven to 450°F (230°C) with a dutch oven inside.
Carefully invert the dough onto parchment paper, score the top with a sharp knife or lame.
Transfer the dough with the parchment paper into the preheated dutch oven.
Cover and bake for 25 minutes. Remove the lid and bake for an additional 10 minutes until golden brown and crispy.
Cooling
Remove the bread from the oven and let it cool on a wire rack for at least an hour before slicing.
- Flavor Tip: For a deeper olive flavor, you can add a tablespoon of olive brine to the dough during mixing.
- Storage: Store the bread in a bread box or wrapped in a cloth for up to 3 days.